Article type: Construction-execution guide
Focus: Coordinating grade preparation and asphalt paving
Service area: Ontario
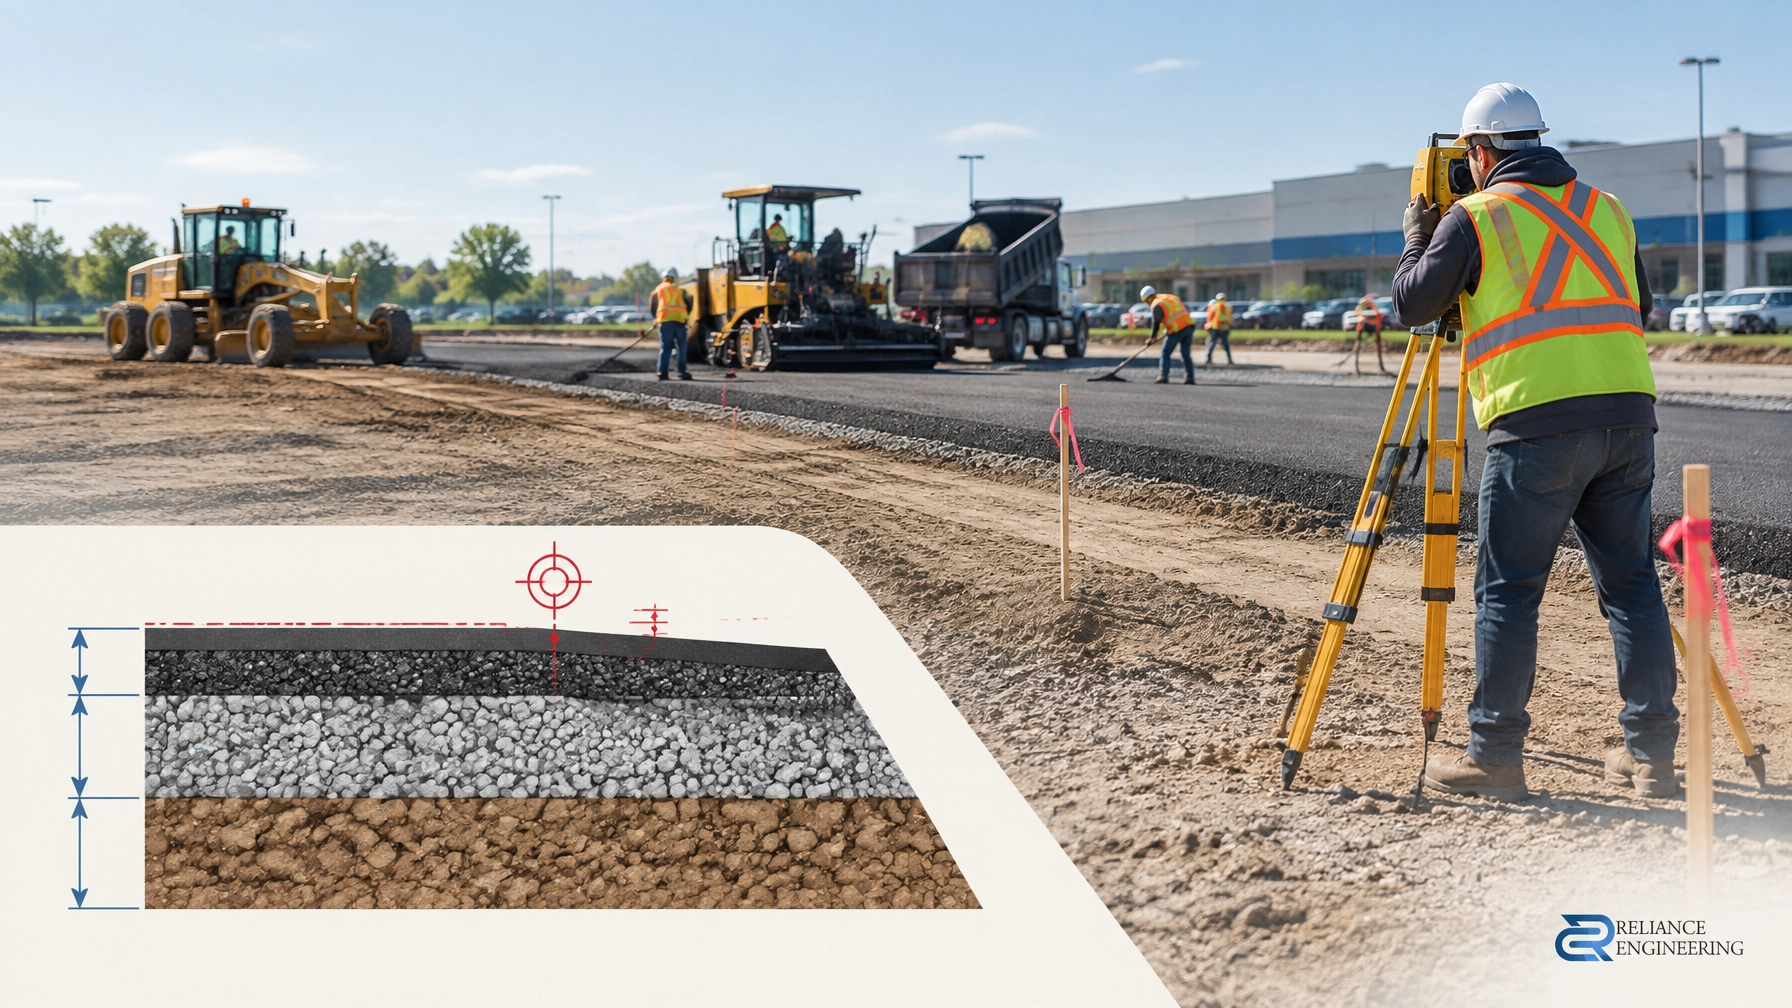
A regrading design may call for a 1.5% to 2% slope, but that target can be lost before asphalt is placed. The critical hand-off is between the crew preparing the subgrade and granular base and the crew operating the paver.
If a low spot remains in the base, the paver may carry that irregularity into the finished surface. Asphalt is not a reliable way to correct a base that was never brought to the approved grades. A drainage-focused approach needs clear control points, checks before paving and a shared understanding of the approved design.
The Base Sets the Surface
The design slope is only useful if the underlying work follows it. Granular placed to a nominal thickness without fine grading or reliable elevation control can leave isolated high and low areas. A low area can remain beneath the asphalt and become a surface dip.
A paver’s screed generally follows the surface and the reference used to control the paving operation. Automatic grade control can help maintain a target, but it depends on a correct reference, such as a stringline, ski or existing curb. If that reference is wrong or inconsistent, the equipment can reproduce the error.
Paving over an uneven base also affects asphalt thickness. Where the base is high, the asphalt lift may become thinner than intended. A thin area may not provide the structure the pavement section requires. Where the base is low, adding asphalt may change the intended section and still leave an inconsistent surface. The right correction is to identify and fix the base before the paving operation proceeds, in accordance with the project documents.

Prepare and Check the Granular Before Paving
Subgrade and granular base need to meet the elevations, slope, thickness and compaction requirements set for the project. Those requirements should be stated in the drawings and specifications rather than left to interpretation in the field.
The construction sequence should include suitable inspection and survey hold points. Before granular placement, confirm that unsuitable or unstable areas have been addressed and that the prepared subgrade is ready to receive the specified material. During placement, use grade control to achieve the intended profile. Before paving, check granular top elevations at key points, including low areas and transitions.
Moisture and compaction also matter. Granular that is too wet, insufficiently compacted or overworked can contribute to settlement or surface distortion. The specified materials, lift thickness and compaction criteria should be followed, with testing where the project requires it. Do not rely on roller passes alone as proof that the base meets the project requirements.
Paving conditions need their own checks. Cold weather affects asphalt placement and compaction; project specifications and the applicable municipal requirements govern whether work can proceed. Confirm the weather and mat conditions with the paving contractor before the crew starts. A poor base should not be concealed by placing asphalt over it.

Make Elevation Control a Shared Responsibility
The grading crew and paving crew need the same current plan and a clear set of control points. Grade hubs or other approved references should be set, protected and maintained so the intended elevations remain available as work progresses. If a hub is disturbed or the design changes, the field team needs a verified replacement, not an assumed elevation.
Before paving, the general contractor or designated site representative should confirm that the granular surface has been checked against the approved grading plan. After paving, survey shots should include the low points and other locations where water could collect. Before opening the area, compare the finished elevations with the approved grading plan and investigate any material differences.
This is also the time to keep a useful record. Save the finished elevation checks and photographs of low points after the first significant rain. Comparing those records with the design gives the owner, contractor and consultant a factual basis for resolving concerns before a holdback or warranty period closes.
A crew should never be asked to correct a design it was never given. Provide the paving contractor with the approved, current drawings and clarify what elevations, cross-falls and thickness requirements apply to the work.
Field Checklist for the Paving Contractor
A property owner, general contractor or developer can use this checklist at the pre-paving meeting:
- Confirm the current approved grading plan is on site and that the paving crew has received the relevant details.
- Identify and protect grade hubs and control references. Verify that each reference matches the approved design.
- Check the prepared subgrade and granular base for soft areas, standing water, visible irregularities and incomplete corrections.
- Survey granular top elevations before paving, including low points, transitions and catchbasin locations.
- Confirm specified base and asphalt lift thicknesses, compaction requirements and any required test results.
- Verify the screed reference (stringline, ski, curb or other control) is suitable and set to the correct grade.
- Record finished surface elevations at low points and other agreed control locations before the area opens.
- Photograph the completed work and review it after significant rain. Compare observed conditions and recorded elevations with the approved design.
This checklist supports communication; it does not replace project specifications, required testing, municipal inspection or professional review.
What Buildable Grading Drawings Need to Show
Permit-ready drawings need enough detail for the design to be set out and checked in the field. For asphalt regrading, the drawing package should identify:
- Spot elevations at low points and catchbasin rims.
- Slope arrows and cross-falls that clearly communicate the intended direction of drainage.
- Asphalt lift thickness and the required subgrade and granular base tolerances.
- Tie-in elevations at the curb and road, coordinated with the project requirements.
- Overland flow route arrows showing the intended route for surface runoff.
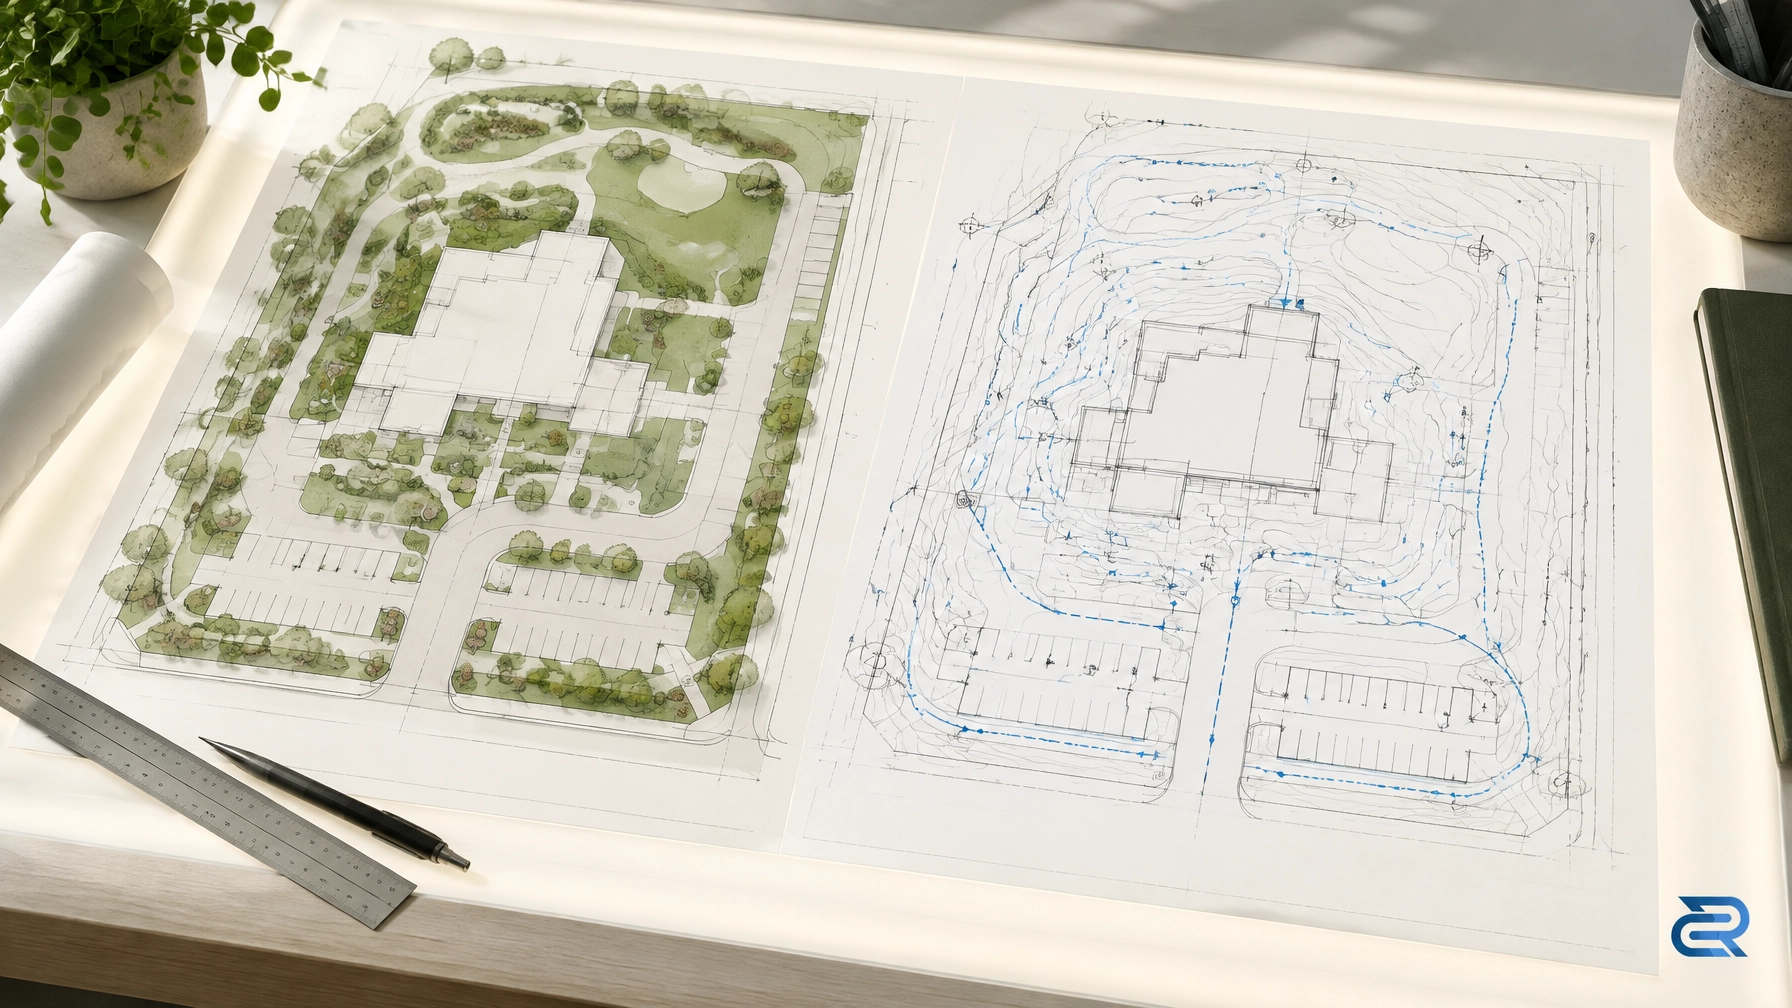
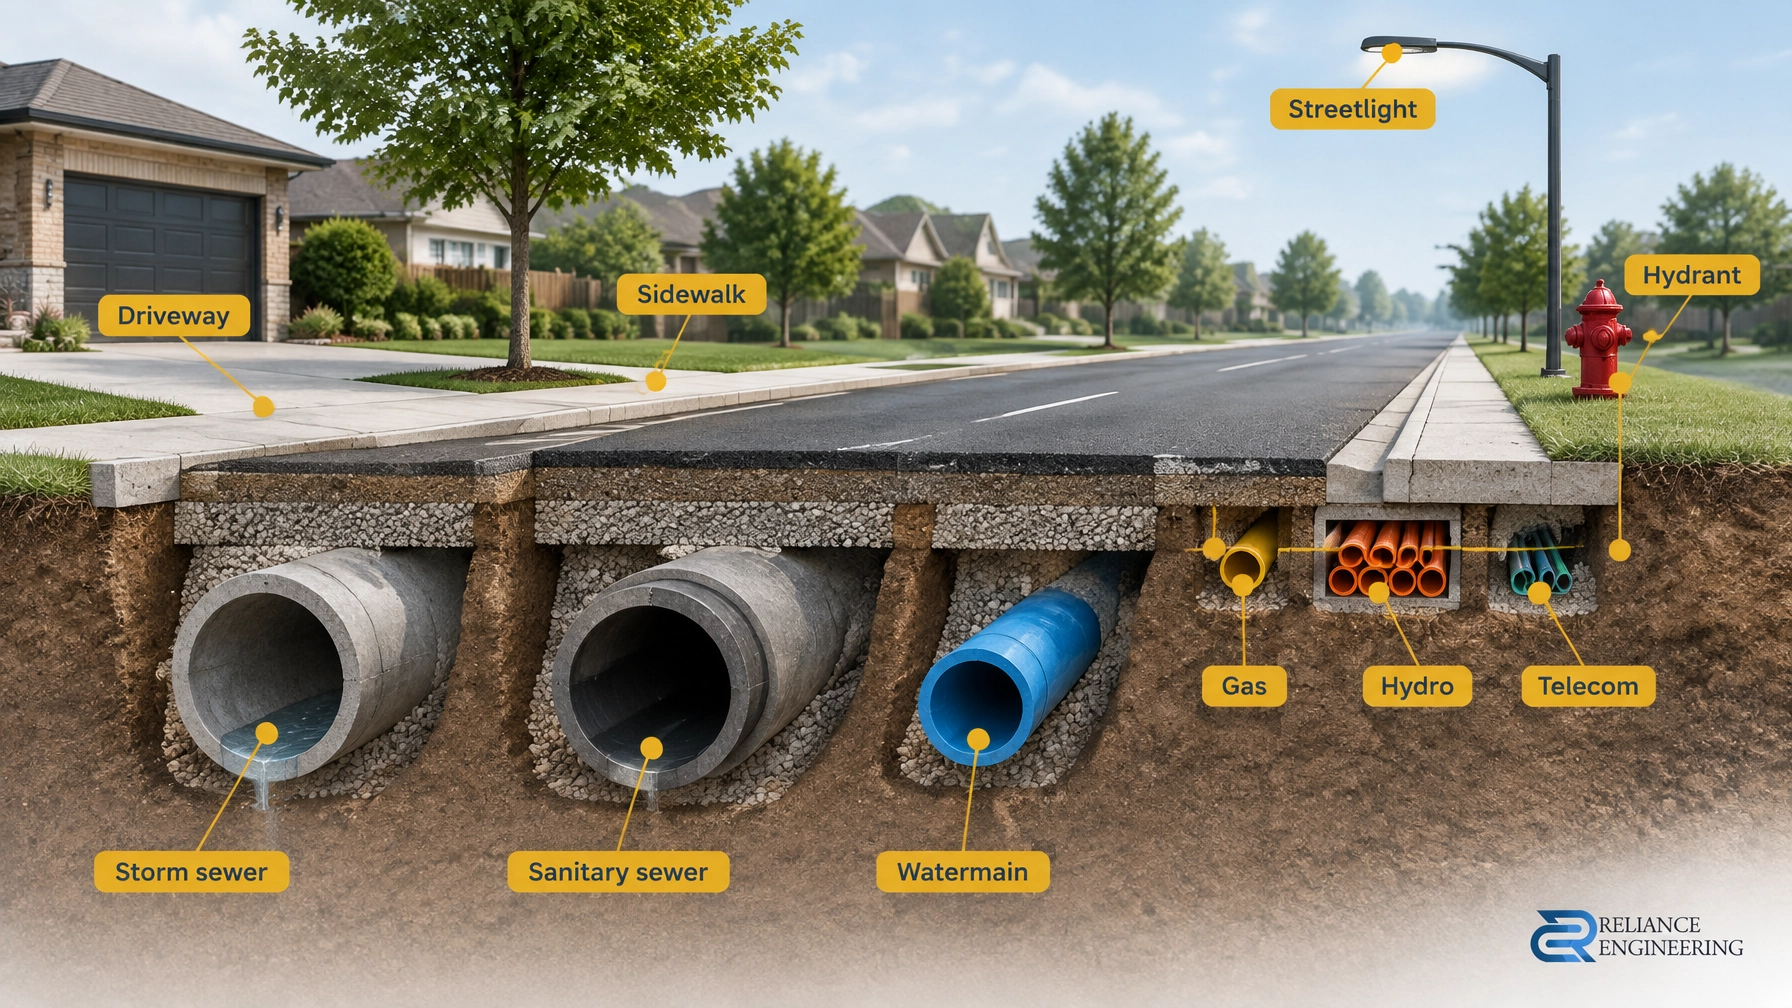
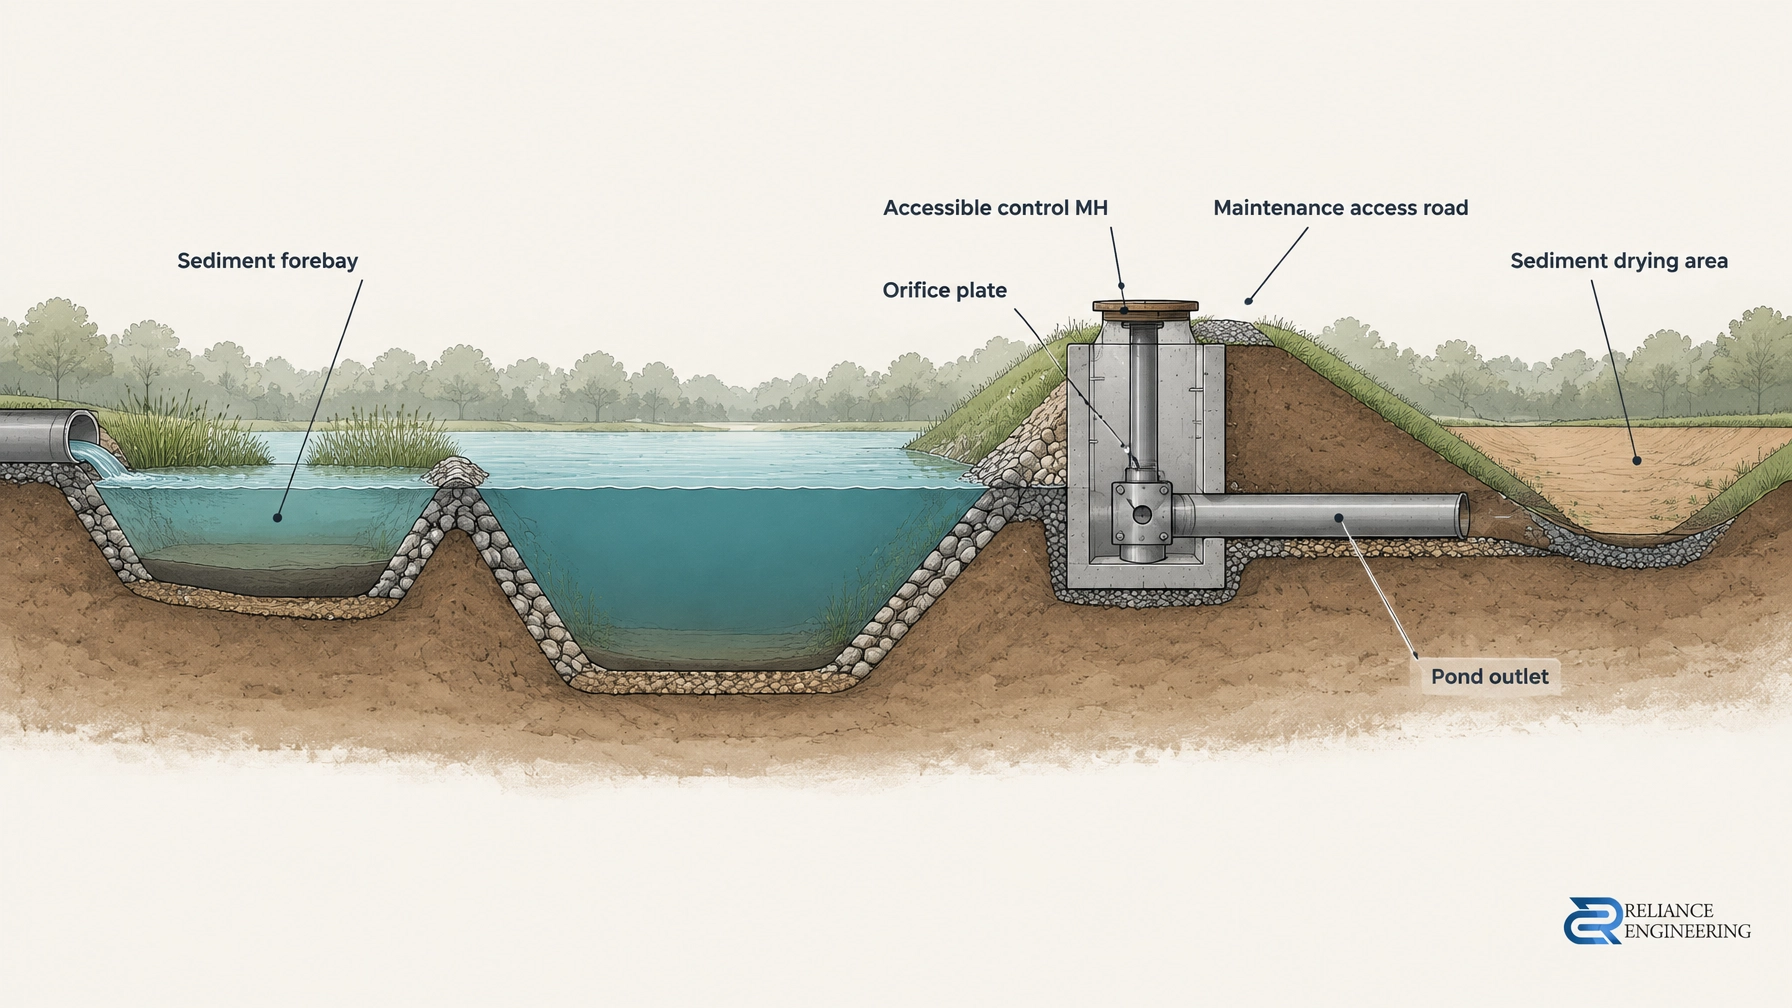
A practical design also coordinates grading with the site’s storm and servicing layouts. Site Grading Plans provide the elevations and flow routes; Site Servicing Plans coordinate services and drainage infrastructure. Where needed, Stormwater Management Reports address runoff strategy, while Erosion and Sediment Control Plans set out construction-phase controls.
There is no single tolerance that applies to every Ontario site. Grading criteria, road tie-in details and lot-grading requirements vary by municipality and, where applicable, Conservation Authority. Site alteration by-laws may also apply while work is underway. Confirm the applicable approvals and project specifications before construction. For example, the City of Toronto publishes separate grading and compaction specifications, and the City of Brampton’s site alteration information outlines its local requirements. Use the standards applicable to the project.
Request a Grading Review Before Paving
A good hand-off keeps the design visible through subgrade preparation, base placement, paving and final verification. Reliance Engineering prepares practical designs and clear drawings for buildable grading, with approval support informed by more than 20 years of principal engineer experience.
Contact us for a grading review or consultation before paving begins. We can review the grading design, check whether construction details are clear and help identify coordination questions before they become field rework.
Naresh Ochani, P.Eng. M.Eng.
PEO Certificate of Authorization: 100548882
6850 Millcreek Dr, Mississauga, ON L5N 2H4
Phone: 647-385-6418
Email: [email protected]
Office hours: Saturday 12:00 PM–2:00 PM; Sunday Closed